All posts filed under: family

5 Board Bench

I’m a huge fan of Steve Ramsey from Woodworking for Mere Mortals (link). This week, I made a 5 board bench inspired by Steve’s design. It’s a quick and simple project, and could be completed with limited tools. I started out by cutting this poplar board to length for all my pieces. This wood has lots of character. It’s old, and is full of beetle holes. I butted the bottom of the legs together, and drew a circle with a compass. I used a jigsaw to cut this portion out. I used the table saw to cut the sides at an angle. I cut the same angle on the rails, where they connect to the top. I connected the rails to the legs using pocket screws, then connected the top. I used Minwax Hickory gel stain to darken up the piece. I wanted this bench to look old, so I sanded some of the stain off. I finished it with Minwax water based Polycrylic. I really enjoy this design, and it was super easy to …

Gentlemen’s Caddy

I started out this week’s project with the intent of making a padauk and walnut box. However, my plans were thwarted at the last moment by my router. I ended up leaving off the top, and adding a divider. The result… the Gentleman’s Caddy.   I had plenty of padauk and walnut lying around the shop, so I cut all my pieces for the glue up. I glued up the boards and clamped them in a matching pattern. Since I was going to run these pieces through the planer, I wasn’t worried about cutting them to the same length. I haven’t made a planer sled, so I usually have to cut the ends off from snipe. I cut the boards to length using my miter saw, at a 45 degree angle. This isn’t a very large piece and won’t be used to hold a lot of weight, so I didn’t worry about using splines. I cut a rabbet with my router table, and inserted a piece of backer board for the bottom. I created the …

Cedar Table with Tapered Legs

I received an unexpected surprise this week. My Step-Father brought over some wood he’d been keeping in his shop for the last 40 years or so. This wood belonged to a friend of his that past away. I didn’t have a lot of material to work with, but I decided I wanted to make something nice out of it. Something of an heirloom, to pass down, just as it had been passed to me. The cedar had darkened quite a bit over the years, but came back to life after a few passes through the planer. I cut the boards for the top, and joined them together with a biscuit joiner. I wanted the overall look to be rustic, so I didn’t worry about milling out any knot’s or holes. I cut the legs into 1.5″ strips, and glued them together. I squared them up by running them through the jointer and planer. I created a jig to taper the legs, and ran them through the table saw. This is the first time I’ve tried these …

Tablet Stand

I love using my tablet. It makes life so much easier. I can quickly look at videos, pictures, read the news, etc. etc. What I don’t like, however, is having to hold the tablet while trying to perform other tasks such as cooking, playing video games, and of course woodworking. I’ve seen a lot of plans out there, but my favorite is the simple wood stand. I’ve made a few of these stands in the past, so I decided to liven this project up a little. I found a cutting board kit at Woodcraft containing pre cut stock of some of my favorite woods; Cherry, Maple, and Purple Heart. Since the boards are already precut, all I had to do is glue them together. A little Tightbond and some clamps, and it was good to go. This is the first time I used a planer, and I am hooked! I’ve always had to be mindful of glue squeeze-out. This usually resulted in using inadequate amounts of glue on my projects. Since I knew any squeeze-out …

Refinished Coffee Table

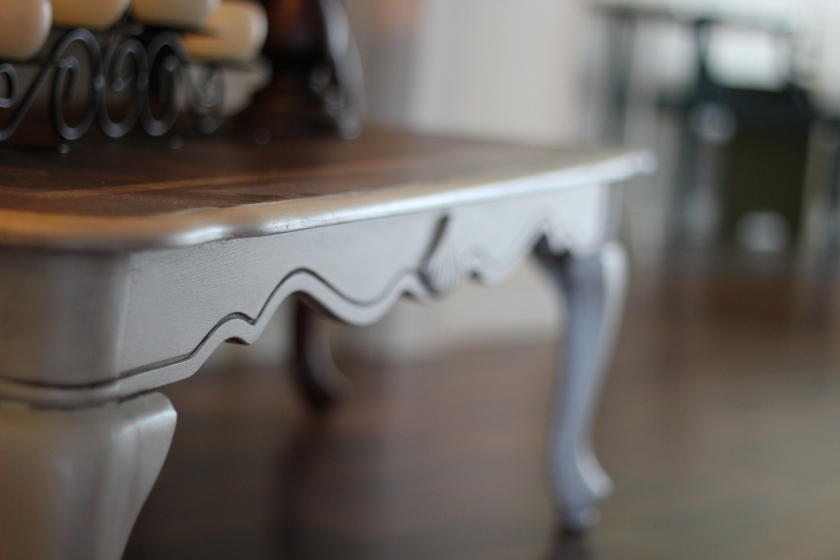
  Things used on this project: 60 Grit sand paper MinWax Dark Walnut Stain Home Made Polyurethane Burnt Almond Valspar Paint (chalk paint supplies) Natural hair paint brush (optional) Antiquing Glaze This is a coffee table that has been sitting in our attic for seven years.  It is a typical coffee table that you would find in any furniture store, and I for the life of me have no idea where we picked it up.  Ever since we started refinishing and painting furniture I have been wanting to get my hands on this thing. First things first, getting this table down from the attic which was not easy since the staircase is EXTREMELY narrow and it is kind of heavy.  So that was fun. 🙂 Then sanding.  I used a 60 grit sand paper with an orbital sander.  This is a veneer top table and a very HEAVY layer of poly.  So………four sanding pads and two and half days later this beautiful top was under all that dark stain!  Once the top was clean and …

Shadow Box

Shadow Box

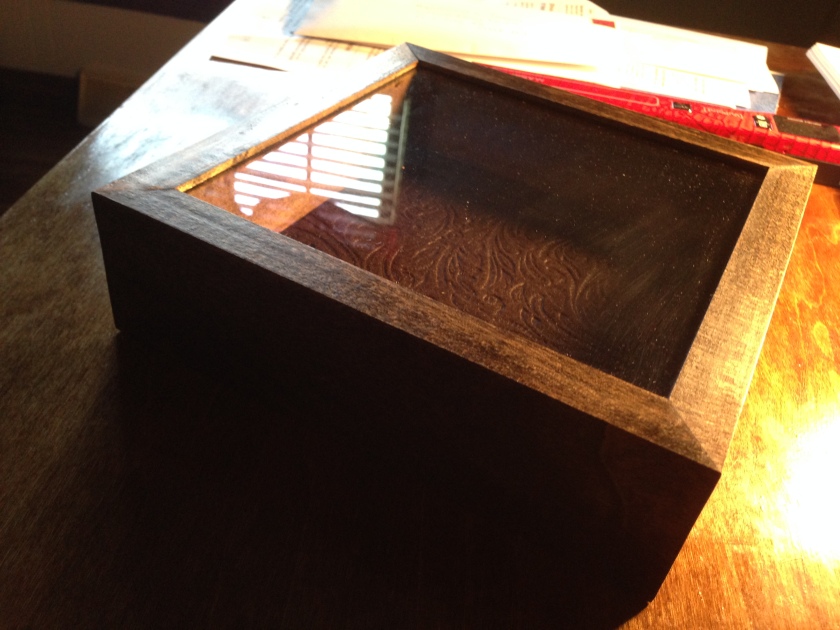
Our son recently got a rock tumbler, and needed something to display his finished rocks. So we made a shadow box to put them in. I’ve never worked with glass before, so I was really excited to try this out. I’m making the shadow box out of left over poplar boards from the table top redux. This will make good use of otherwise scrap wood, and save us some money too. I used the table saw to cut the boards down to the height I wanted the box to be. Then I used the router to route out groves that will hold the glass and base. I used the miter saw to cut the ends at 45 degrees. Since I always have trouble with spill out, I decided to stain the boards before glueing them together. I stained the boards with Minwax Dark Walnut stain, and let them dry overnight. The next day, I cut the plexiglass to the size I needed with a razor blade. I inserted the glass into the top groves and …

Crafty Bird House

Bird House

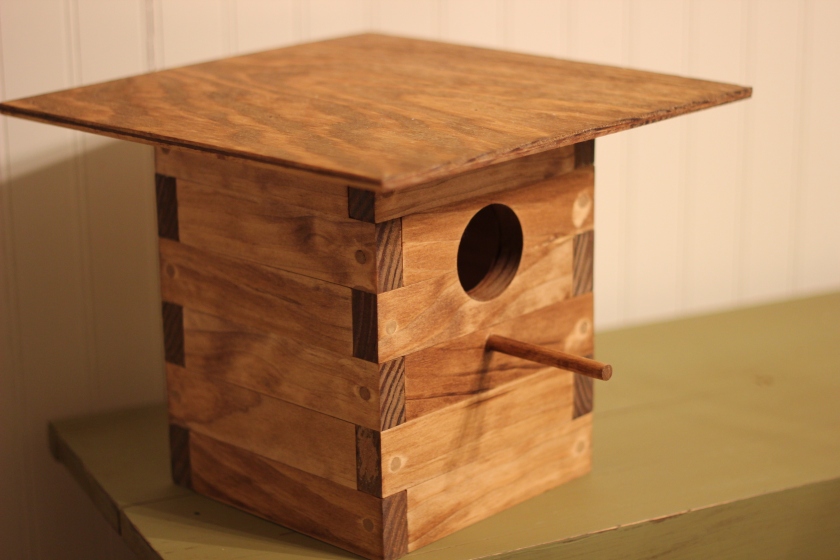
I have been wanting to build a bird house from scratch for a while now. Last year we bought a kit from Lowe’s Home Improvement, and it was so much fun for the whole family. This time though, we decided to design our own. After measuring out the size we wanted the bird house to be, I cut the boards the exact same length. I used pine for this project, since we are using 1×2 inch wood. Using hardwood could really drive up the price of materials. We then painstakingly glued the boards together, alternating grain direction. After everything was glued up, I screwed each board to the next. I drilled a hole for the entrance, installed a dowel for the perch. I used some left over plywood for the top and bottom, and attached them with pocket holes. Then I filled the screw holes with wood filler, and sanded. After a couple coats of Minwax stain, we were finished. In hindsight, I will probably use brads to join the wood together. The screws were …