

Our son recently got a rock tumbler, and needed something to display his finished rocks. So we made a shadow box to put them in. I’ve never worked with glass before, so I was really excited to try this out.

I’m making the shadow box out of left over poplar boards from the table top redux. This will make good use of otherwise scrap wood, and save us some money too.


I used the table saw to cut the boards down to the height I wanted the box to be. Then I used the router to route out groves that will hold the glass and base. I used the miter saw to cut the ends at 45 degrees. Since I always have trouble with spill out, I decided to stain the boards before glueing them together. I stained the boards with Minwax Dark Walnut stain, and let them dry overnight.

The next day, I cut the plexiglass to the size I needed with a razor blade. I inserted the glass into the top groves and glued the mitered edges together. I used a band clamp (for the first time) to hold everything together while the glue dried.


I used backer board for the base of the shadow box. I cut it to size, and applied craft glue to the top of it. Then I applied felt to the glued side, and trimmed off the excess with a razor. I ended up creating a dado for the bottom of the box to fit the base into. This will allow me a way to open the box, if needed. The felted board fits right into the routed dado for a seamless finish.

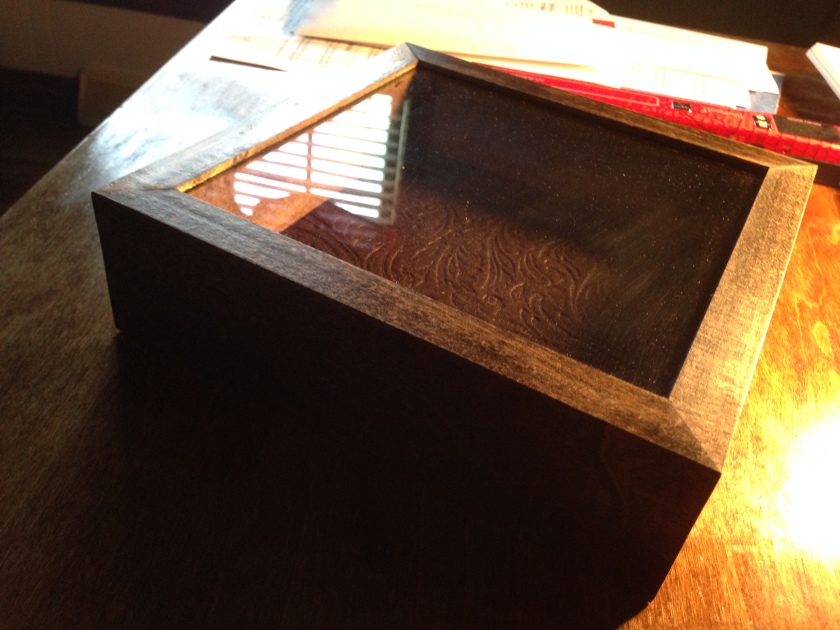
Finally, I put on two layers of polyurethane, and a coat of finishing wax. The box is going to look great in our son’s room (hopefully he’ll let me keep it in my office). I’ll update the post with some more pictures, once the rock tumbler is finished polishing the rocks. Have a great week!
