All posts filed under: Uncategorized

Turned Bowl

This week, I turned a bowl out of dry mystery hardwood on the lathe (comment below if you recognize this wood species). This is my first turning project, and my first bowl. It’s nothing fancy, but I’m proud of it. I can tell I will be doing a lot of lathe projects, it is very addictive. I cut this board into squares, and glued the pieces together to make more of a cube. Then I cut the corners off on the miter saw. I drilled a pilot hole for the wormwood screw to mount it on the lathe. I shaped the outside of the bowl first, and cut a mortise on the bottom so I could mount it on my Nova G3 chuck. Next, I hollowed out the inside of the bowl. I drilled the bowl to depth with my largest forstner bit. This really made finding the final depth a lot easier. All that was left was to remove material to the thickness I wanted. I finished the bowl with Minwax Polycrylic. Since this …

Gentlemen’s Caddy

I started out this week’s project with the intent of making a padauk and walnut box. However, my plans were thwarted at the last moment by my router. I ended up leaving off the top, and adding a divider. The result… the Gentleman’s Caddy.   I had plenty of padauk and walnut lying around the shop, so I cut all my pieces for the glue up. I glued up the boards and clamped them in a matching pattern. Since I was going to run these pieces through the planer, I wasn’t worried about cutting them to the same length. I haven’t made a planer sled, so I usually have to cut the ends off from snipe. I cut the boards to length using my miter saw, at a 45 degree angle. This isn’t a very large piece and won’t be used to hold a lot of weight, so I didn’t worry about using splines. I cut a rabbet with my router table, and inserted a piece of backer board for the bottom. I created the …

Wall Mounted Bottle Opener

This week, I made a simple wooden bottle opener. I recessed two magnets into the back to catch the bottle caps after opening, which really adds to the functionality of it. I used scrap cedar and pine from around the shop to make this piece, but you can use anything you have available. I glued the pieces together and let them dry. After about an hour, I took them over to the miter saw, and cut off the edges. Now that my boards have nice clean edges, it’s time to clean up the gaps on the face with my planer. The planer is my new favorite piece of equipment lately. No matter how messy the glue up is, the planer shaves it down nicely. One of the best tips I learned, was to use “Waste Stock” around your work pieces when cutting, to avoid tear out. Here I’ve surrounded my work piece with MDF. It really creates much cleaner edges than from sawing alone. I’ve also used masking (or painter’s tape) when cutting, but I usually …

Shadow Box

Shadow Box

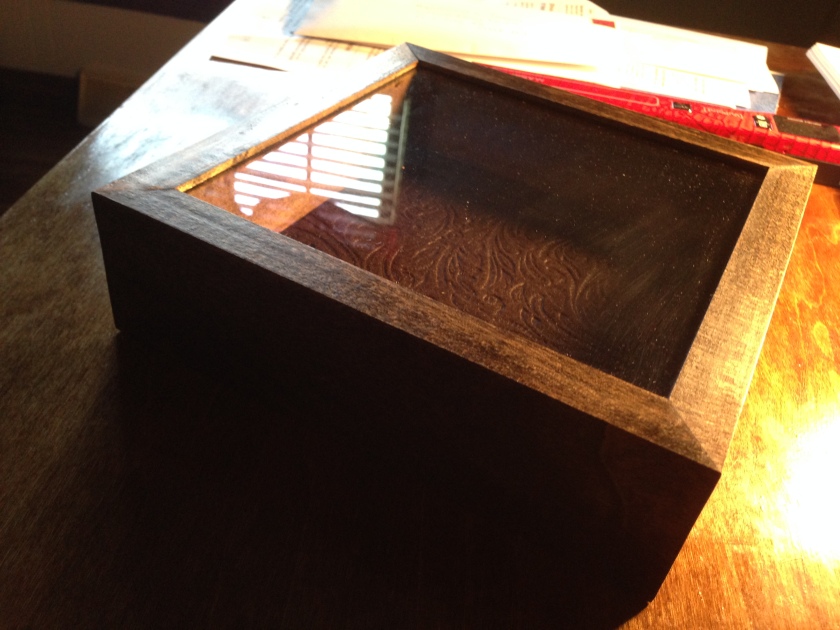
Our son recently got a rock tumbler, and needed something to display his finished rocks. So we made a shadow box to put them in. I’ve never worked with glass before, so I was really excited to try this out. I’m making the shadow box out of left over poplar boards from the table top redux. This will make good use of otherwise scrap wood, and save us some money too. I used the table saw to cut the boards down to the height I wanted the box to be. Then I used the router to route out groves that will hold the glass and base. I used the miter saw to cut the ends at 45 degrees. Since I always have trouble with spill out, I decided to stain the boards before glueing them together. I stained the boards with Minwax Dark Walnut stain, and let them dry overnight. The next day, I cut the plexiglass to the size I needed with a razor blade. I inserted the glass into the top groves and …

Bedroom Furiture Updates

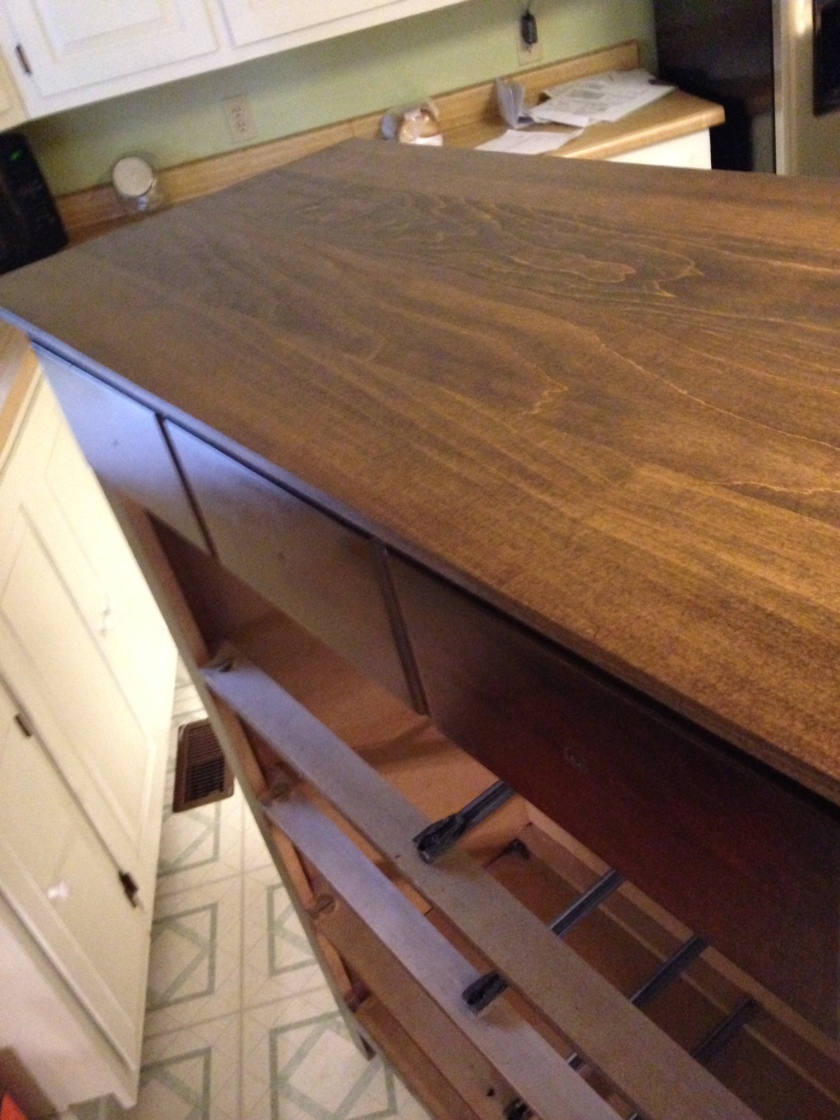
With the living room out of things to repurpose, and paint, it is on to the bedroom. The furniture is a little over ten years old. It’s still nice but has some wear, so we decided to get the ‘ol orbital sander out to see if stain was an option to make it beautiful again. Low and behold, it looked fantastic. Forty-five minutes later (and a few odd stares from the neighbors) I had a wonderful top to stain. I decided to use Dark Walnut stain by Winwax. I LOVE this stain. It really brings out the grain in the wood, and looks so pretty once the poly is on it. Then I mixed my handy dandy chalk paint with non-sanded grout (recipe here). I used the color Anvil from Home Depot (I believe the Martha Stewart collection). We absolutely LOVE IT!  There is not a bit of distressing on it just paste wax.  I prefer to use paste wax, it is a bit softer than finishing wax. It is easier to use on the …

Crafty Bird House

Bird House

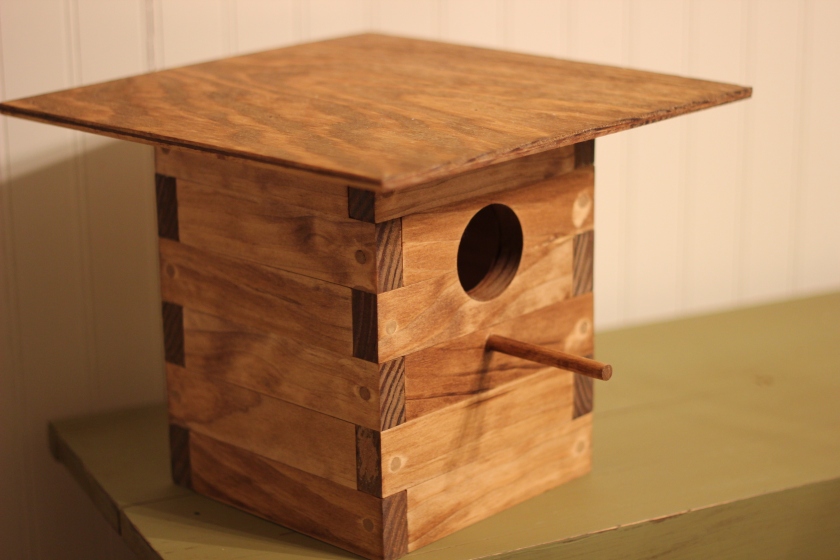
I have been wanting to build a bird house from scratch for a while now. Last year we bought a kit from Lowe’s Home Improvement, and it was so much fun for the whole family. This time though, we decided to design our own. After measuring out the size we wanted the bird house to be, I cut the boards the exact same length. I used pine for this project, since we are using 1×2 inch wood. Using hardwood could really drive up the price of materials. We then painstakingly glued the boards together, alternating grain direction. After everything was glued up, I screwed each board to the next. I drilled a hole for the entrance, installed a dowel for the perch. I used some left over plywood for the top and bottom, and attached them with pocket holes. Then I filled the screw holes with wood filler, and sanded. After a couple coats of Minwax stain, we were finished. In hindsight, I will probably use brads to join the wood together. The screws were …

Table Top Redux

Inspired by last week’s dresser-to-entertainment center project, we decided to spruce up our coffee table and end tables to match. I wish I had more “before” photos of the coffee table (lack of planning on my part), but here’s a picture of our hideous end table. I originally thought about doing one solid piece for the tops, but decided to try my hand at making farm-house style table tops. Which ended up being a good call. The table turned out great, and it was so easy. As long as you have the right tools, anyone could make these table tops. I started by removing the old tops. The end tables put up quite a fight (with all the glue), but with an oscillating saw and a crowbar, we got it done. Then I cut the boards to size, using the old tops as a template. I used 3/4 in poplar for these tables. I really like poplar. It’s cheaper than oak, and you get these beautiful hues of green, gold, and tan in the wood. …

Dresser to Entertainment Center

Ok, this is something we’ve never tried before. Re-purposing furniture has always been scary to me for some reason. I guess it’s the thought of adding on to another person’s (or machine’s) finished product with my woodworking ability, that makes me nervous. But I must say, it was much easier adding on to a piece that was already squared up. All I had to do was align my additions to the wood that was already there, which took a lot of pressure off me to check (and recheck) my measurements. Now that I’ve got my first re-purpose under my belt, I can see many more projects like this in my future. We found an interesting dresser at a local thrift store. We really liked the detail in the drawers, not to mention it was the perfect size to fit in our living room. We decided to build the shelves into the middle section since there were cabinet doors in this area, with smaller drawers inside. After removing the inside drawers, I used an oscillating saw …

Shelved Mirror Frame

For the last 6 years, or so, we’ve had a 30 x 40 mirror sitting in our spare room gathering dust. This mirror was originally hanging in our bathroom when we first moved into our home. When we replaced it with a decretive mirror, we put it out of sight, and out of mind. I decided it was time to work this mirror into our weekly project list. Using plans from Ana White’s book “The Handbuilt Home”, I adjusted the measurements to accommodate a larger mirror that will hang horizontally (landscape mode). I based everything on the inside dimensions of the piece (the part in contact with the mirror) to determine the overall size. It turned out very well, and I’m glad to have finally given good use to to a mirror that would have otherwise sat tucked away for 30 years. I chose to use pine for this project, because it’s cheap and I’m going to be painting over it anyway. First I framed out the mirror with 1x4s on the sides and top, …

Rustic Farmhouse Bench

This woodworking project is from Ana White’s book “The Handbuilt Home”. This is an excellent book for creating your own furniture. Shopping List: 2 8′-long 1x12s 2 8′-long 1x2s 2 8′-long 1x3s Wood glue 2″ finish nails Finishing supplies Cutting List: 2 17 1/4″-long 1x12s (sides) 1 52″-long 1×12 (bottom shelf) 1 59 1/2″ 1×12 (bench) 1 59 1/2″-long 1x3s (top trim) 2 15 1/2″-long 1x2s (side trim) 1 50 1/2″-long 1×2 (bottom shelf trim) Journal: I Modified the original plans with two 1×6″ boards (Pine). Cut the boards for the legs first, 17 1/4″. Clamped these boards and planed them together. Used compass to measure out a half circle, then cut this circle out using a jig saw. I joined the leg boards together with a Kregg pocket hole jig (set to 3/4 in), and 1 inch coarse self-tapping screws. The bottom shelf I cut to 52 inches, and joined together with a Kregg pocket hole jig (set to 3/4 in), and 1 inch coarse self-tapping screws. The top shelf is cut to 59 …